Whether you’re a video production professional who feels a little stale in their process of producing interview videos, or you’re a business owner trying to record your own content, this guide has been written to help you get the most out of your interview video production work.
At Pixel3, we spend a lot of our time shooting interview videos for our clients, from low budget single videographer interviews, to those that are fully crewed with lighting and multi-camera setups. We hope this guide will give you some insight into producing professional interview content, if you're currently working on an interview video project and need assistances, please don't hesitate to reach out.
Let's begin
Interview videos are a great way to engage your audience. Let's face it, we’re social creatures and we want to hear from others. By featuring individuals sharing their story, experiences, and perspectives, video interviews are a powerful way to humanise a message, they allow for a deeper connection with the content like no other medium can create. Used well and interview video content will foster trust, credibility, and emotional engagement with viewers.
However, we'll stress this point early in this blog, video interviews are powerful if produced well. It is tempting to pick up a camera and do it yourself, it will certainly be more cost effective (short term) however we can't stress it enough, interview videos produced badly will reflect poorly on your business. That's why it's important to hire a professional crew who have the experience to produce compelling interview content, they'll help you produce the quality content you need for your message.
Keep reading below to learn more
The power of interview content
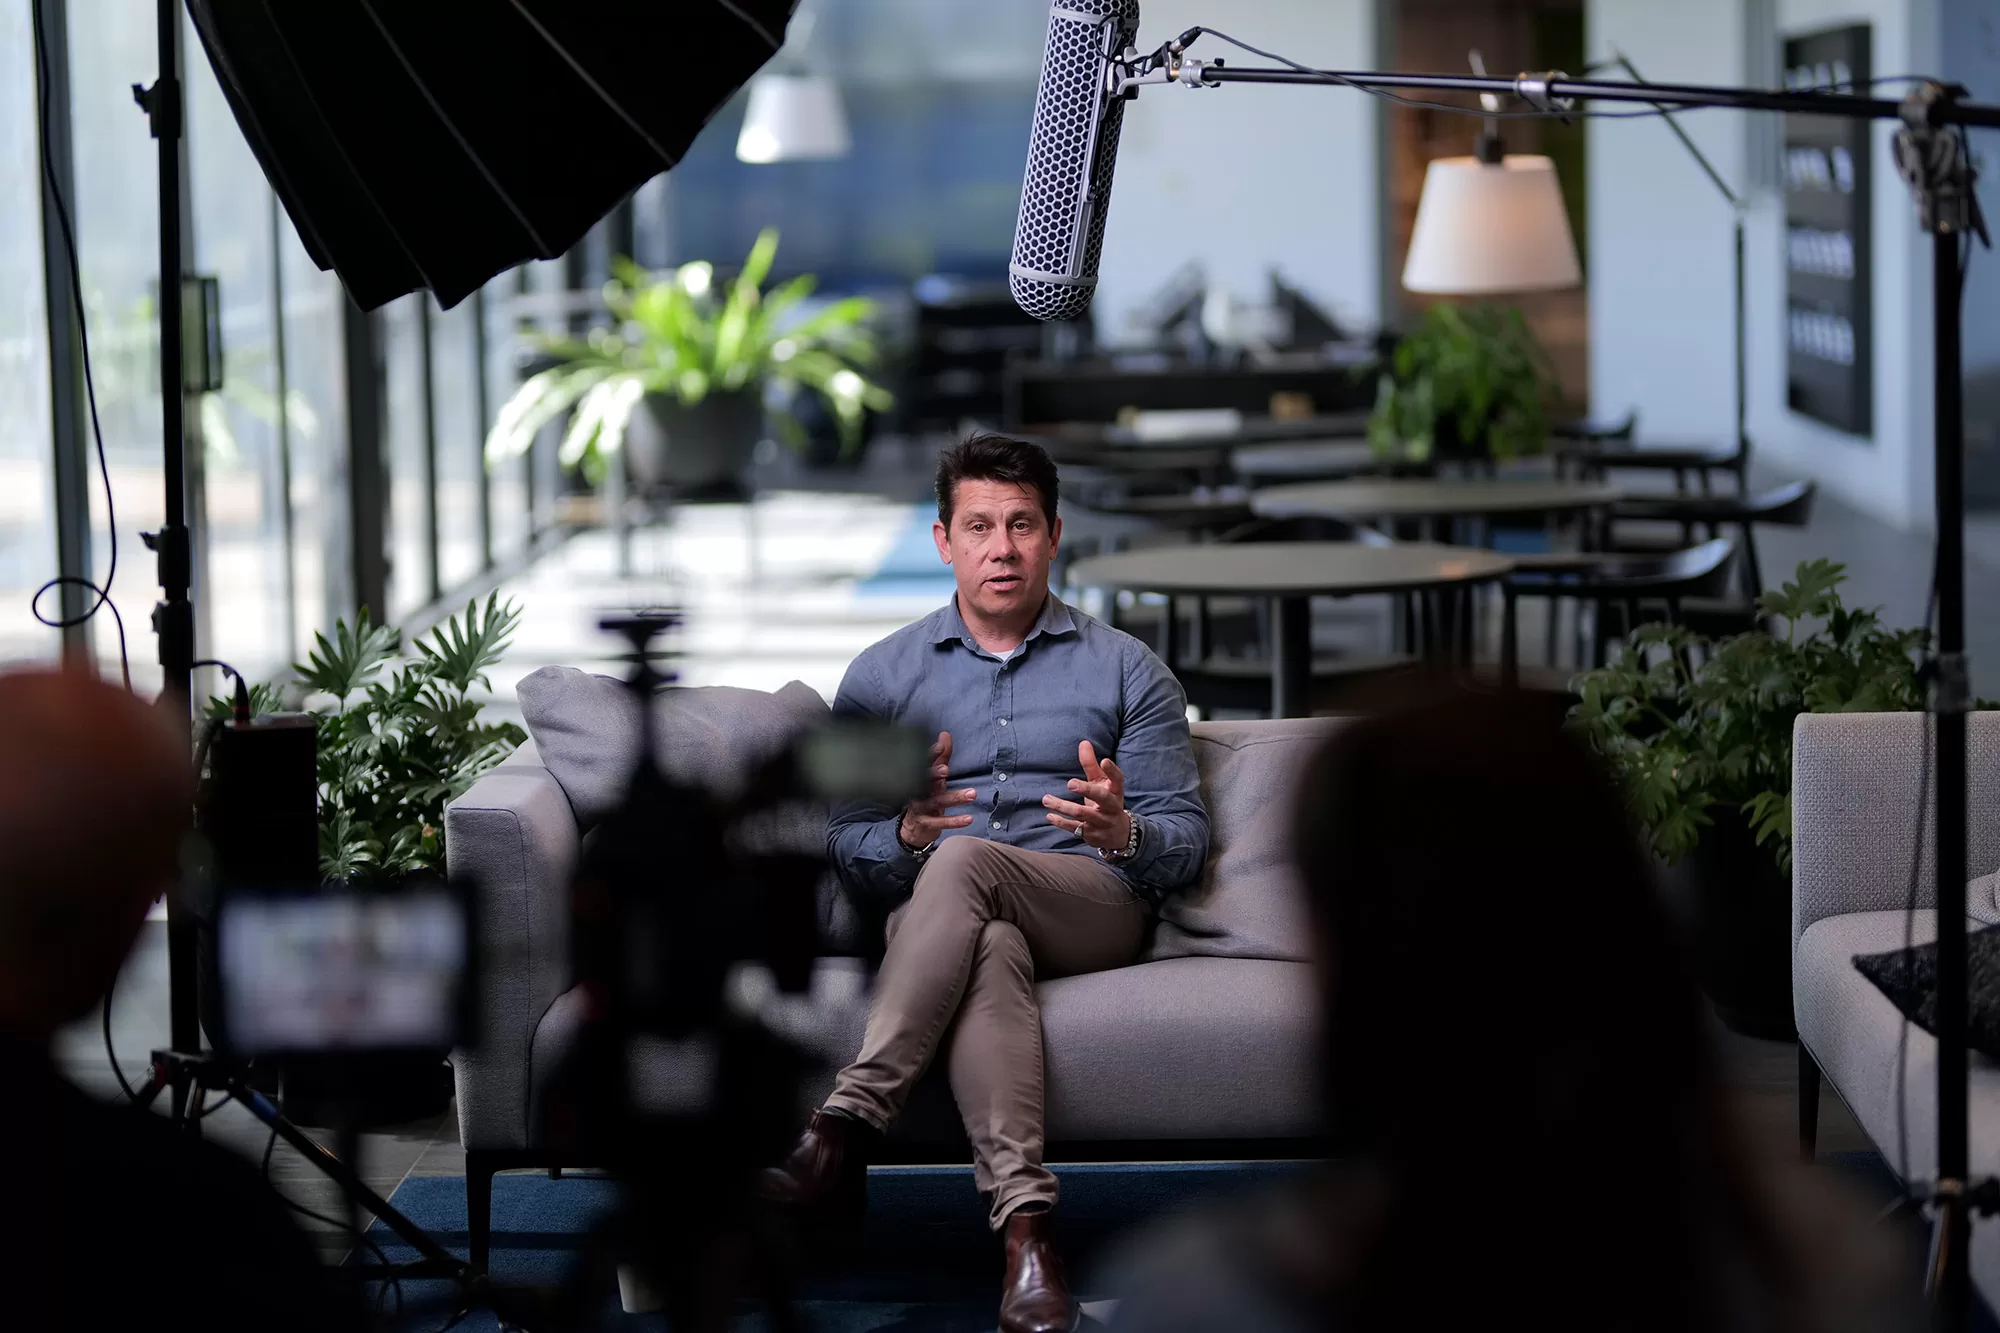
Shooting an interview can generally be budget friendly, though we do recommend hiring a professional crew if you have no experience is shooting them, they may seem fairly straight forward to produce, there's a lot more to it then you might first realise and they do require some skill to produce.
Aside from ensuring you have all the right gear ready and your team scheduled in (if you’re having one), your mindset plays an important role in interview preparation. Manage your expectations and the expectations of the person you’ll be interviewing. Think about the content you need for the final video, your audience and how it will be used.
Some items to work through and consider before the interview
An interview video begins long before you hit record. Your pre-production preparation is vital to making sure you capture the content you need. One of the most important things is to start building a good rapport with the person you’ll be interviewing. This should happen well before production day.
We always make a point to call the talent before production. We introduce ourselves, go over what they can expect during the shoot, and perhaps even start the conversation around the topic to be discussed. But you also want to keep things spontaneous on the day so don’t overwork the content during this pre-production phone call.
Ultimately, you want them to feel comfortable and relaxed around you and your team. You want them to trust that you will represent them well and bring out the best in them on the day.
Do your research on the talent and the topic to be discussed and draw up a list of open-ended questions. The time you spend preparing for an interview is invaluable. You’ll be more confident having the conversation with the talent when you know a bit about them and the topic.
Some suggested pre-interview phone call questions:
Doing this ground is really important, do it right and it will pay off. The talent will have more trust in you and your team and will more likely deliver their responses in a natural and engaged way.
Make a firm choice ahead of time about the style of interview you’re conducting, the location you’ll be using, the lighting setup and the general length of the interview. Communicate this clearly to your interviewee and be consistent even if it requires a gentle interruption to remind them if needed.
Hiring a studio for the interview
An interview video requires enough space for two people as well as your cameras and lighting set up. You also need a space that allows for some depth in the frame to make it visually interesting. We advise against conducting interviews in public spaces as it is an environment where you cannot control noise and possible interruptions.
Also avoid rooms with a lot of hard surfaces, while we need a fair bit of room, we also want to avoid echoey spaces.
Changeable light in the interview space is also not ideal, look out for windows in direct sunlight. If it’s a long interview, the lighting conditions will change throughout the session. This will make it more difficult to edit, particularly if you want to mix answers up or even remove particular responses.
We recommend a site visit prior to the interview to assess the suitability of a space. And a reminder, if you don’t have a very picturesque space to work in, you can set up a backdrop.
Make sure to have all your gear prepped ideally the day before. Ensure, all your batteries are fully charged, all your SD cards formatted, and that you have tripled checked that you have package all the gear you need. This is really important, you may only have a short period of time with your talent and you want to make the most of their time.
Plan to be there 1.5 hours before the arrival of your talent. This depends on your setup of course and whether you have already visited the site. But generally 1.5 hours for a 3 point lighting setup in a space that is unfamiliar will give an experienced crew enough time.
When framing your shot it’s important to have a clean background. Messy backgrounds can be distracting. If there are some workable leading lines, frame them well. They can really help direct the viewer's attention to your focal point, that is of course your talent. And lastly place your interviewee away from the background. Creating some separation from the background gives the shot depth and it looks much better than sitting right up against a wall.
Using a shotgun microphone on a stand will elevate your sound quality. As your interviewee is likely to be stationary, set up your shotgun mic on a quality stand and ensure to sandbag it down while also using a counter weight at the other end, remember safety is really important. Place the mic as close to your interviewees mouth and point it down toward them. You’ll of course need to check to make sure the mic is not in shot..
If you have a lavalier microphone we recommend that you use it too. You can never have enough sources of audio. We recommend that you hide it, you can use soft foam to play the mic into and using surgical tape fix it to just below the talents sternum. This will reduce the likelihood of any mic rustle.
Your approach to camera setup is dependent on a few considerations, namely your access to equipment and your skill level. A one camera setup can be all you need, however bare in mind it does have some limitations, particularly when it comes to post production.
For example, when you want to delete certain responses, you’ll be left with limited or no options to hide the cut. And what would otherwise be a seamless cut between cameras is now an obvious jump cut.
If you only have a one camera setup as an option, then make sure to shoot in 4K. This will allow you to jump into your subject and back out again between cuts without losing quality in the image, particularly if you’re delivering in HD (1920x1080). That is going from a mid shot to a close up to hide the removed section of a response from the interviewee.
Remember to position your interviewee slightly off centre and include some negative space in the direction of their eye line. This is otherwise known as adhering to the rule of thirds. Position yourself on the opposite side of the camera and as close to the lens as possible. This will minimise how far the camera right/left the interviewee is looking, if it’s to much of an angle, it won’t look quite right.
Ideally you capture your interview with a two camera setup, both shooting in 4K. This will give you lots of flexibility during post production and will result in a more polished interview video.
Set up your main camera (A camera) exactly as described above and add a second camera (B camera) to capture an additional angle. Our preference is to shoot a slightly angled profile shot of our interviewee.
If you only have one camera operator available, make sure your B-camera is set up to film without an operator. Your camera operator’s priority should be your A-cam in order to make any necessary focus adjustments during the interview.
Your lighting requirements will be different depending on your camera setup. With two cameras, you will need extra lights to fill in shadows while always remembering that fill lights are less powerful than your main light (key).
The decisions you make lighting an interview, and how you position your subject using available light, are some of the most important decisions you’ll make. Interview lighting setups can range from placing your subject in available window light, to a complex rig of lighting with a lighting crew to manage it. Deciding on the best approach for your content is dependent on these factors.
The expected useful life of the content, short term or will it live on for years, how professional produced do you want it to look?
The nature of the content, is it a relatively routine announcement/message or a promotional piece where the quality of the image is equally as important as the message?
The lighting kit you choose to use will largely be determined by the time you have to setup, your skill level and the equipment you have at your disposal. Lighting is an art, and it’s an entire study in its own right.
For this blog post, we’re focusing on what a typical business professional might need. Below are some essential rules for lighting:
There is lots of information online about the three point lighting setup. It requires you to consider 3 points of lighting for a more stylised look to the interview. Where possible we do recommend it.
The three lights are
Make your interviewee feel comfortable
Taking the time to be present in the moment with your interviewee before the interview can help relax them and ensure they’re being themselves and that you get the best delivery of the content you need for your interview
Ideally you have already built a good rapport with your interviewee during a phone call pre the interview. While you’re on-set, make them feel welcome, pay attention to them, reassure them that you’ll bring out the best in them and that they can take as many takes as they need to get it right. I think it’s important they feel in total control. And remember, get to your location early and be already set up and ready to roll before your talent arrives. You don’t want to be setting up while they are onsite.
Start off the interview with easy warm up questions that your interviewee will be comfortable talking about. If you need someone to be emotionally vulnerable, ask sensitive questions in the middle of the interview so you can end on something lighter. This is especially valuable with documentary interview questions. You can facilitate your interviewee giving an honest answer by showing them you’re comfortable with silence and staying connected to your interviewee with eye contact.
As for the on-camera questions, you’ll get more authentic results if you don’t share them with your interviewee ahead of time. If they know what the questions will be, their answers are likely to feel rehearsed. If they insist on seeing the questions beforehand, then you can try changing the order of the questions to keep things unpredictable.
Always prioritise your most important questions.
It’s wise to have more questions than you need. It can be helpful to colour code your questions so you can tell at a glance which questions to prioritise and which ones are just for backup.
Sometimes, getting complete sentences can be surprisingly difficult. You’ll notice this if you read an interview transcript. Humans don’t always use perfect grammar when they speak, no matter how articulate they may be. So it can be helpful to have some “fill-in-the-blank” sentences prepared for your interviewee. You don’t want to put words in their mouth but it’s essential to get a few crucial sound bites. Encouraging the interviewee to repeat your prompts, or to put the prompts in their own words, it may help you immensely in the editing stage.
Use these prompts at the end of your interview as your interviewee will be in the swing of things and more likely to give a natural response.
Always listen attentively and show genuine curiosity about the answers.
Make sure your interviewee has enough time to answer the priority questions. Asking the same question in different ways is perfectly OK.
Be prepared to improvise and pay attention to your interviewee’s level of interest in a question. If they show any kind of elevated engagement with a question, go with it. Ask them to tell you more about it.
Encourage your interviewee. Tell them they’re doing great. If they appear to be struggling, take a break and refocus. Assure your interviewee that they can repeat things and/or start again if they’re not happy with their answer.
And remember, if you plan on removing your questioning during the edit, ensure to not talk over your interviewee. In fact, we normally allow 2 seconds of silence between a question being asked and the start of the interviewees response. Equally important is to ensure your interviewee’s response includes your question. It will give their response context when the editor cuts your question out. Get this right and it will make the editor's job much easier.
At Pixel3 video productions we have been shooting interviews for over 15 years, click here to view some of our interview video production portfolio